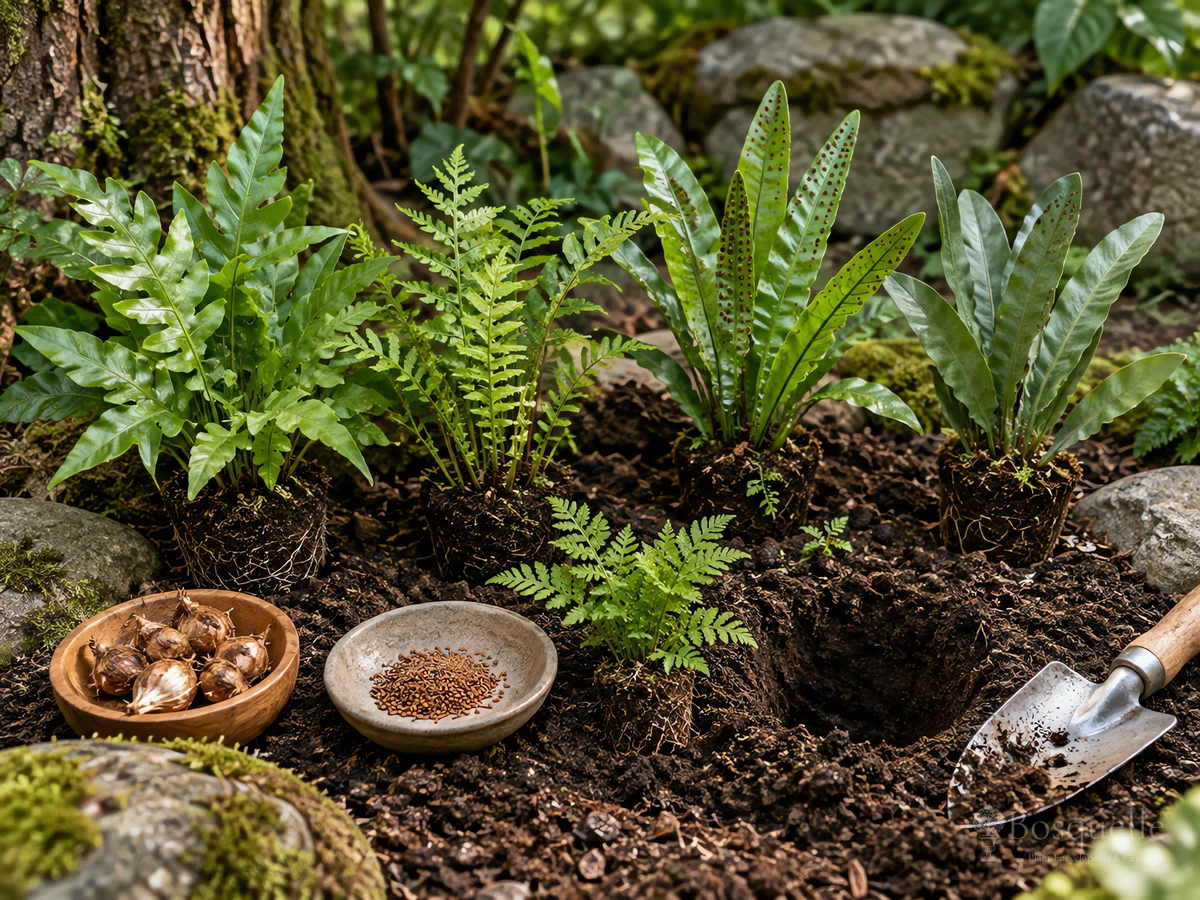
Plant polypody in spring or fall, with the rhizome on the soil surface. A buried rhizome rots.
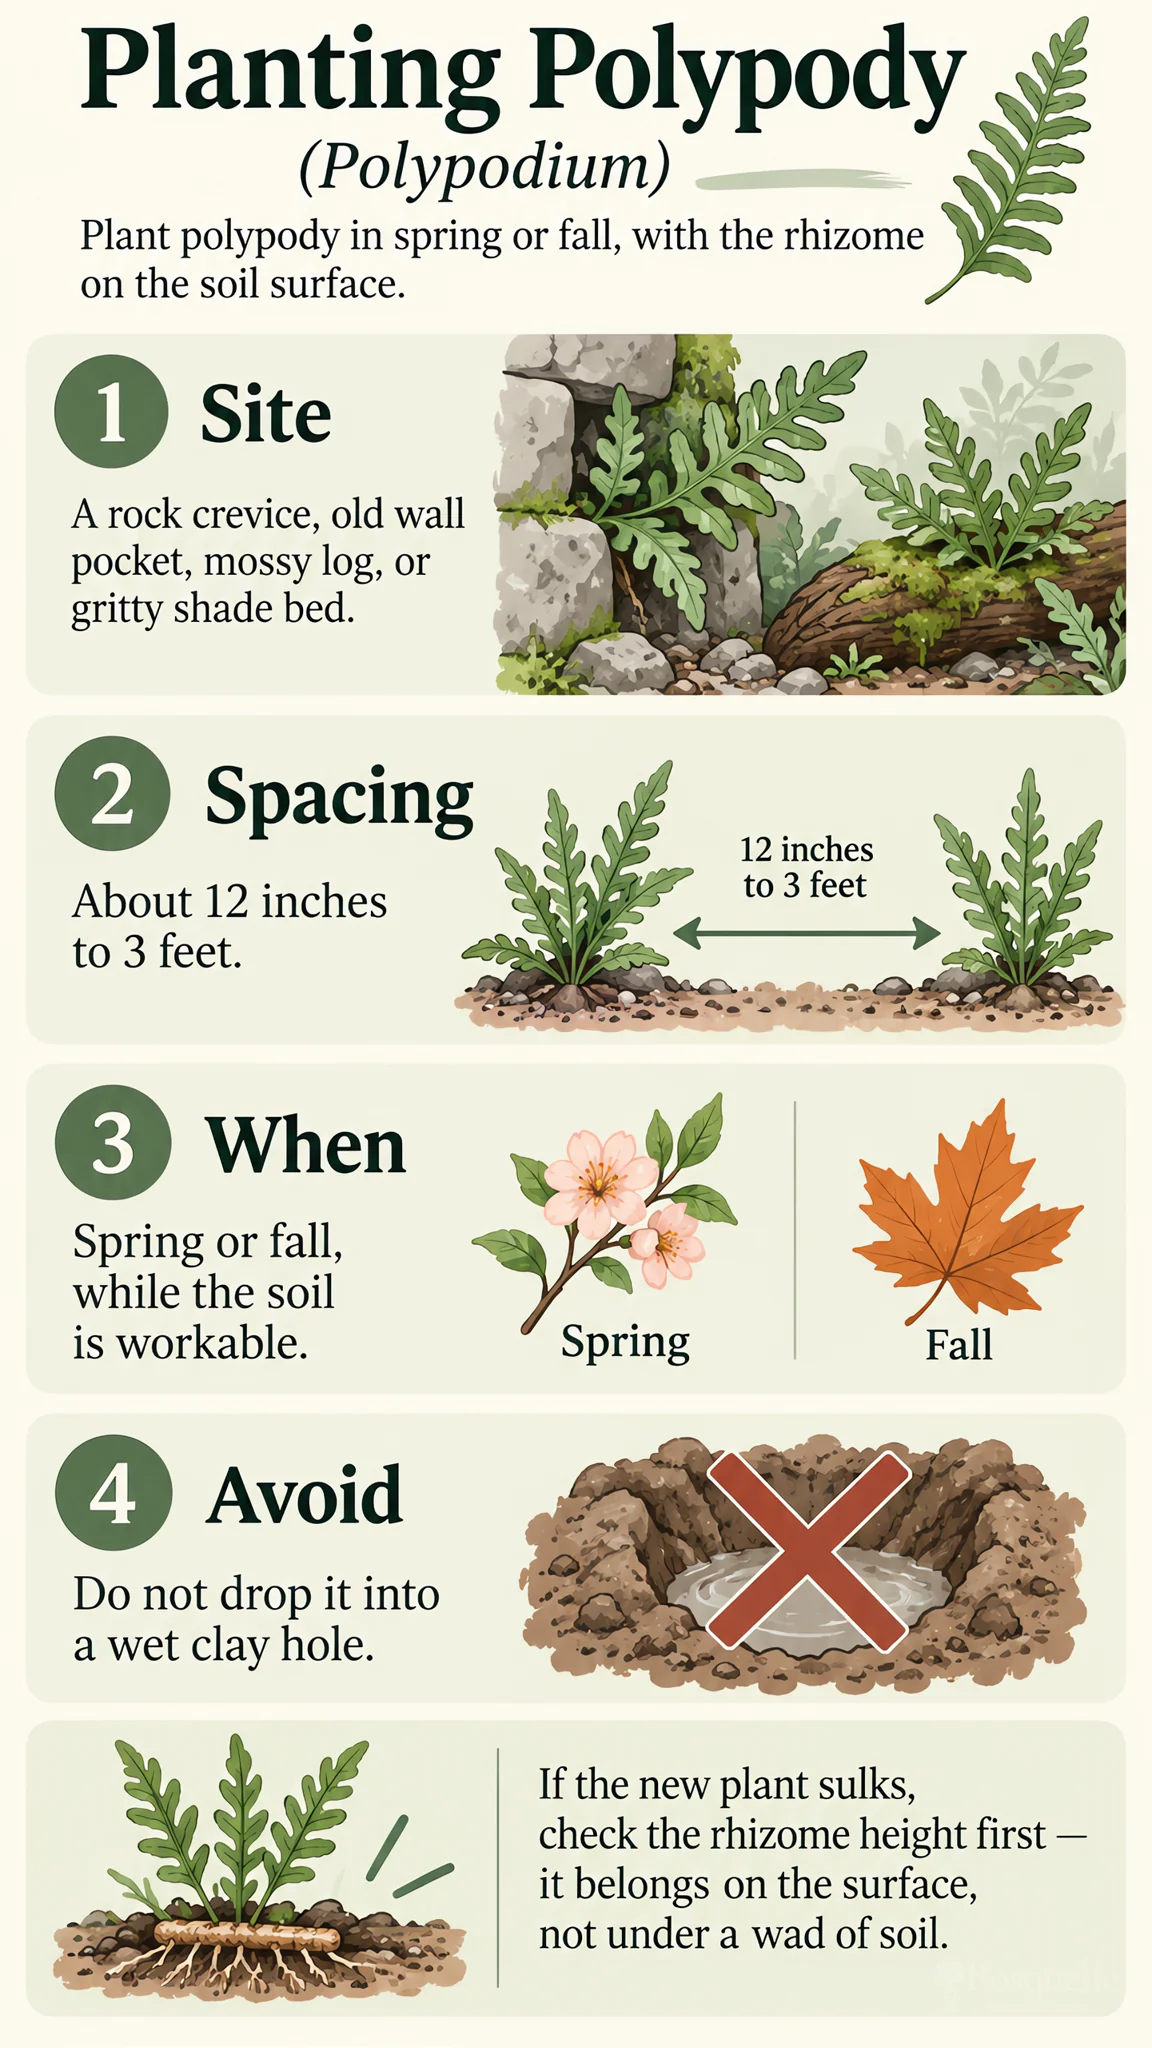
Plant in spring or fall, with the rhizome on the soil surface
| Factor | Recommended | Avoid |
|---|---|---|
| When | Spring or fall, while the soil is workable | Do not plant into peak summer heat |
| Rhizome | On the soil surface, as it sat in the pot, with roots going down | Do not bury the stem under extra soil or a thick mulch |
| Spacing | About 12 inches to 3 feet | Do not pack the rhizomes tight |
| Site | A rock crevice, old wall pocket, mossy log, or gritty shade bed | Do not drop it into a wet clay hole |
Spring planting lets roots settle before heat. Fall planting works while the soil is still warm. Set the rhizome on the surface, or only just under a dusting of grit, so the growing tips stay in the air. [1] Keep that same height when you replant a division. Match the kind on Types of Polypody before you tuck a summer-dormant licorice fern into a wall you wanted evergreen all year.
When should I plant polypody?
Spring or fall, while the soil is workable. Do not plant into peak summer heat.
How deep do I set the rhizome?
On the soil surface, as it sat in the pot. Burying the rhizome is the main reason it rots.
How to plant polypody
- Water the nursery pot, then slide the plant out by the root ball. Do not pull it by the fronds; the rhizome snaps.
- For a bed, scrape a shallow pocket in gritty, humus-rich soil. For a wall or rock, pack a mix of leaf mold and grit into the crevice.
- Set the rhizome flat on the surface with roots going down. common polypody belongs in that same wall or rock pocket. [2]
- Leave about 12 inches to 3 feet between plants so the rhizomes can creep without stacking. [3]
- Firm the mix around the roots only. Do not cover the scaly stem.
- Water once to settle, then keep the area moist for four to six weeks. rock polypody can be slow to settle; do not bury it deeper to “help” it. [4]
licorice fern takes the same surface set on moss or gritty humus. leatherleaf polypody takes the same height on a coastal rock or log.
How far apart should I plant polypody?
About 12 inches to 3 feet. Do not pack the rhizomes tight.
Divide a creeping rhizome
Division is the reliable way to get more plants. Lift a piece in early spring as new fronds uncurl, or in early fall while the soil is still warm. Each section needs a short length of healthy rhizome, at least one growing bud, and roots.
- Work when the soil is moist so roots come out cleanly.
- Lift a section of the colony, or cut into it with a sharp trowel.
- Cut 2- to 3-inch sections, each with a bud and roots. Discard soft or discolored pieces.
- Replant each piece on the surface, at the same height, then keep it moist and shaded until new fronds show.
Can I divide an established clump?
Yes, in early spring or in early fall. Each piece needs a bud, a length of rhizome, and roots. Replant on the surface.
If the new plant sulks, check the rhizome height first — it belongs on the surface, not under a wad of soil.
FAQ
Can I grow polypody from spores?
Yes, but it is slow. Surface-sow spores on sterile, moist mix in a covered tray. Division in spring or fall is faster for most gardeners.
Related guides


Recommended plants


References
- [1] Iowa State University Extension -
https://yardandgarden.extension.iastate.edu/how-to/growing-ferns-iowa - [2] NC State Extension Gardener -
https://plants.ces.ncsu.edu/plants/polypodium-vulgare/ - [3] NC State Extension Gardener -
https://plants.ces.ncsu.edu/plants/polypodium-virginianum/ - [4] Missouri Botanical Garden -
https://www.missouribotanicalgarden.org/PlantFinder/PlantFinderDetails.aspx?taxonid=285769
This note is part of Polypodium Guides.
More planting notes by plant are gathered in Planting Guides.
Updated: Reviewed by Bosquelle Editors