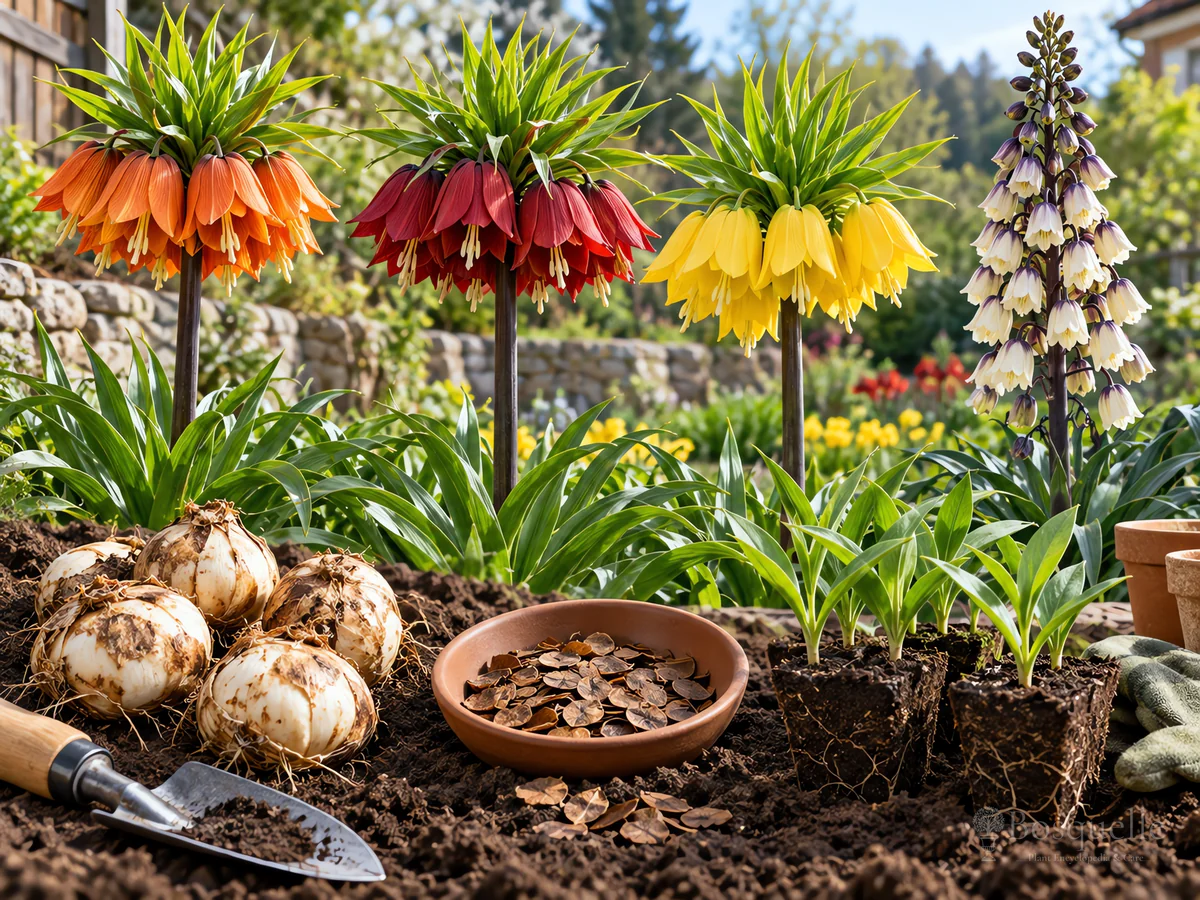
Plant fritillary in fall, as soon as you have the bulbs, and set a hollow crown on its side.

Plant in fall, as soon as you have the bulbs
| Factor | Recommended | Avoid |
|---|---|---|
| When | Fall, the week the bulbs arrive, before the ground freezes | Do not store them on a shelf the way you might store tulips |
| Depth | About three times the bulb's height. Large imperial about 6 inches to the base. Small snake's-head 2 to 4 inches | Do not plant a hollow crown upright so rain sits in the hole |
| Spacing | Large imperial 9 to 12 inches. Small meadow bells 2 to 4 inches | Do not pack tall crowns into a soggy hole |
| Set | Hollow-crown bulbs on their side. Grit under imperial if the bed holds water | Do not leave bulbs in the bag to dry out |
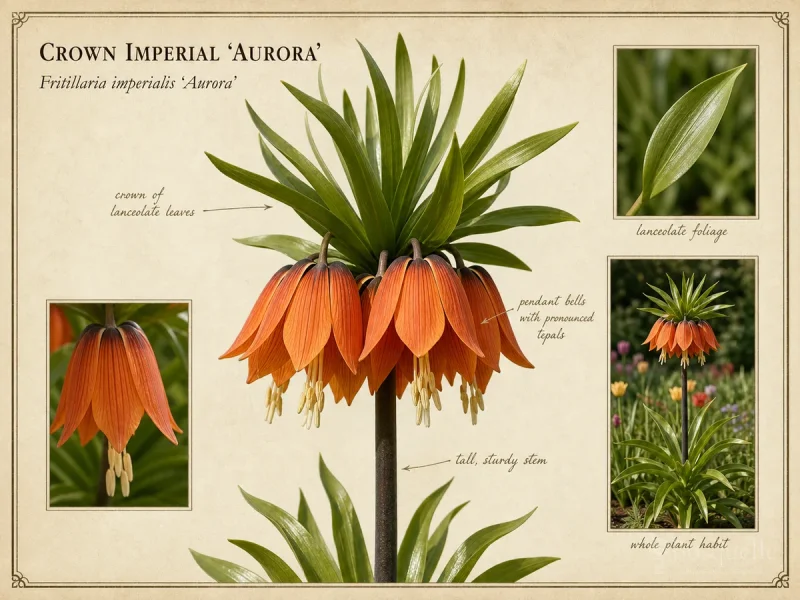
These bulbs have no dry tunic, so they shrivel in the bag. Unpack and plant them in fall, a few weeks before the ground freezes. [1] A large imperial such as Aurora sits about 6 inches to the base. snake's-head sits 2 to 4 inches deep. Ivory Bells takes the same drain in the hole as imperial. For which kind to buy, see Types of Fritillary.
When should I plant fritillary?
In fall, as soon as you have the bulbs. They dry out in the bag.
How deep do I plant fritillary?
About three times the bulb's height. Large imperial bulbs sit about 6 inches to the base. Small snake's-head bulbs sit 2 to 4 inches deep.
How to plant fritillary bulbs
The bulbs may feel spongy and look dull. That is normal. They do not form a hard outer coat.
- Unpack and plant in fall. Do not wait on a warm shelf.
- Set a bulb with a hollow crown on its side so rain does not sit in the hole and rot the center. [2]
- Cover about three times the bulb's height. A large imperial sits about 6 inches to the base, 9 to 12 inches apart. A small snake's-head sits 2 to 4 inches deep. [3]
- On heavy ground, sit imperial on grit so the hole drains. [4]
- Water once to settle. Leave the clump undisturbed once it is in. Sun and water while the leaves are up stay on How to Grow Fritillary.
Why plant the bulb on its side?
A hollow crown holds rain if you set the bulb upright. On its side, water cannot pool in that hole.
Divide only when the clump congests
Leave established bulbs in place. Split a congested clump only after the leaves yellow, then replant at once. Do not lift every year the way you might lift tulips.
- Wait until the foliage has yellowed and died back.
- Ease the clump out with a fork, well clear of the bulbs.
- Pull off firm offsets. Discard soft or rotten bulbs.
- Replant at once at the same depth, hollow crowns on their side. Small offsets may take a year or two to flower.
When do I divide fritillary?
Only when a clump congests, after the leaves yellow. Replant the same day. Do not store the bulbs dry over summer.
If a bulb shrivels in the bag, it sat too long — plant the next order the week it arrives.
FAQ
Can I grow fritillary from seed?
Yes, but it is slow — often three years or more to flower. Buy a fall bulb, or wait for offsets on an established clump.
Do I lift the bulbs every year?
No. Leave them in the ground. Lift only to divide a congested clump, then replant the same day.
Related guides

Recommended plants



References
- [1] Eden Brothers -
https://grow.edenbrothers.com/planting-guides/fritillaria-bulbs/ - [2] North Carolina Extension Gardener Plant Toolbox -
https://plants.ces.ncsu.edu/plants/fritillaria-imperialis/ - [3] University of Wisconsin Horticulture -
https://hort.extension.wisc.edu/articles/guinea-hen-flower-fritillaria-meleagris/ - [4] Longfield Gardens -
https://www.longfield-gardens.com/blogs/all-about-fall-planted-bulbs/all-about-fritillaria
This note is part of Fritillaria Guides.
More planting notes by plant are gathered in Planting Guides.
Updated: Reviewed by Bosquelle Editors