
Repot peacock plant when the clump fills the pot, about every two years in spring, into a pot only one size up.

Repot when the clump fills the pot, about every two years
| Factor | Recommended | Avoid |
|---|---|---|
| When | Spring or early summer, when roots fill the pot, mix stays wet, or about every two years | Lifting a plant that is already wilted or in a cold room |
| Pot | A draining pot only one size larger than the rootball | A jump of two or more sizes that leaves a ring of unused wet mix |
| Mix | Fresh organic houseplant mix with perlite, packed so roots contact the new mix | Garden soil, or the old collapsed mix left in the center |
| Water after | Room-temperature distilled or rain water, then drain | A saucer of standing water, or fertilizer the same day |
You repot because the clump has run out of room and the mix has broken down, not because the plant wants a shrub-size pot. A newly bought plant can usually stay in its nursery pot through the first growing season. [1] [2]
When should I repot a peacock plant?
When roots fill the pot, the mix dries too fast or stays wet, or about every two years. Spring is the usual window.
What kind of pots do Calatheas like?
A draining pot only one size larger than the rootball. Skip decorative pots with no hole unless you use them as a cachepot and empty the saucer.
How to repot a peacock plant
Work one plant at a time: out of the old pot, old mix off, then into fresh mix with no air gaps.
- Water the day before so the rootball slides. Ease the plant out. Squeeze a flexible nursery pot, or run a knife around a ceramic pot.
- Loosen the bottom and sides of the rootball with your fingers so new roots can leave the old shape. A few broken roots are normal.
- Choose a draining pot one size up. Cover the bottom with a thin layer of fresh mix.
- Set the crown at the same height as before. Work mix around the roots with no air pockets, and press gently so the plant does not rock.
- Water thoroughly with room-temperature distilled or rain water and drain. Keep it a little shadier for a week, then return it to bright indirect light.
What type of potting soil is best for a peacock plant?
Fresh organic houseplant mix with perlite so water drains and roots still stay evenly moist. Do not reuse collapsed old mix.
Divide rhizomes in late spring
Until a clump is crowded, move it up a pot size and do not split it. Each piece needs several leaves and a section of rhizome with roots, or it stalls.
- Wait until late spring, when new shoots are active. [3]
- Ease the clump out and tease the rhizomes apart. Cut only where you must, so each piece keeps shoots and roots. [4]
- Pot each piece in fresh mix, crown at the old height, in a pot that just fits.
- Keep the divisions warm, humid, and evenly moist until new growth shows. Skip fertilizer until they are growing again.
Can I split a Calathea plant?
Yes — divide the rhizome in late spring so each piece has shoots and roots. Treat each piece as a fresh repot.
What fails at repotting
- A pot that is too large — extra mix stays wet and the roots rot.
- Old mix left in the center — collapsed mix holds water even when the top looks fresh.
- Pieces with no roots — a leaf with no rhizome usually fails.
- A cold, dry week after the lift — keep humidity up and skip fertilizer until new growth starts.
If a newly potted piece rocks in the mix, firm it before you water again.
Related guides
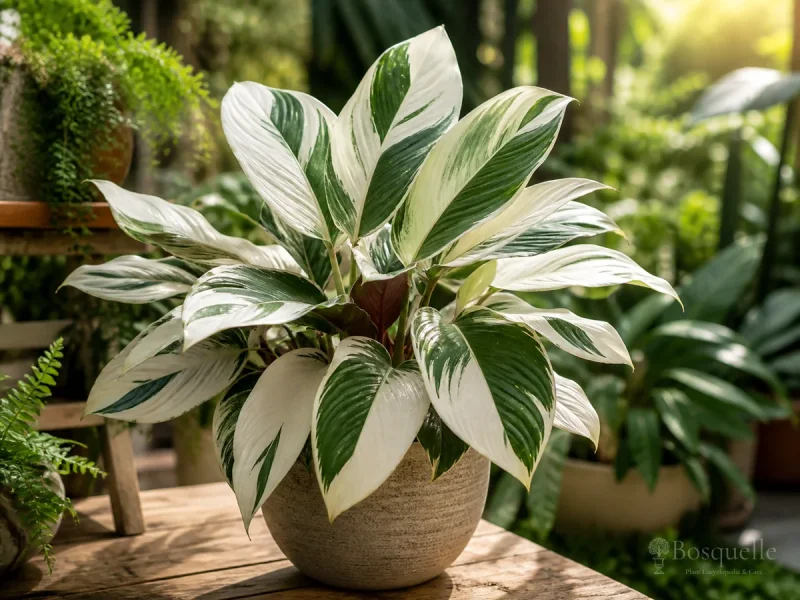
Recommended plants
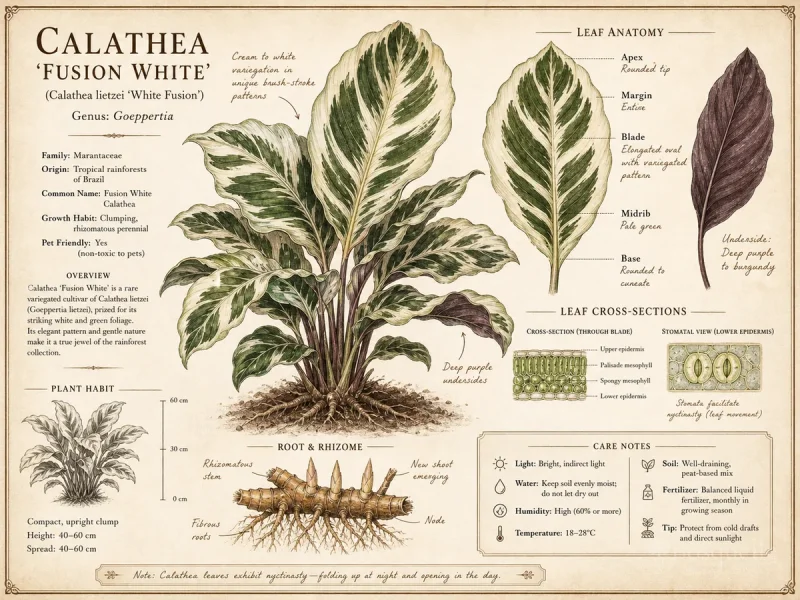
References
- [1] Royal Horticultural Society -
https://www.rhs.org.uk/plants/calathea/growing-guide - [2] Ohio Tropics -
https://www.ohiotropics.com/2019/08/30/calathea-care-brown-leaves/ - [3] NC State Extension Gardener -
https://plants.ces.ncsu.edu/plants/goeppertia-makoyana/ - [4] Iowa State University Extension -
https://yardandgarden.extension.iastate.edu/how-to/how-propagate-houseplants-division-and-offsets
This note is part of Goeppertia Guides.
More container notes by plant live in Container Growing Guides.
Updated: Reviewed by Bosquelle Editors