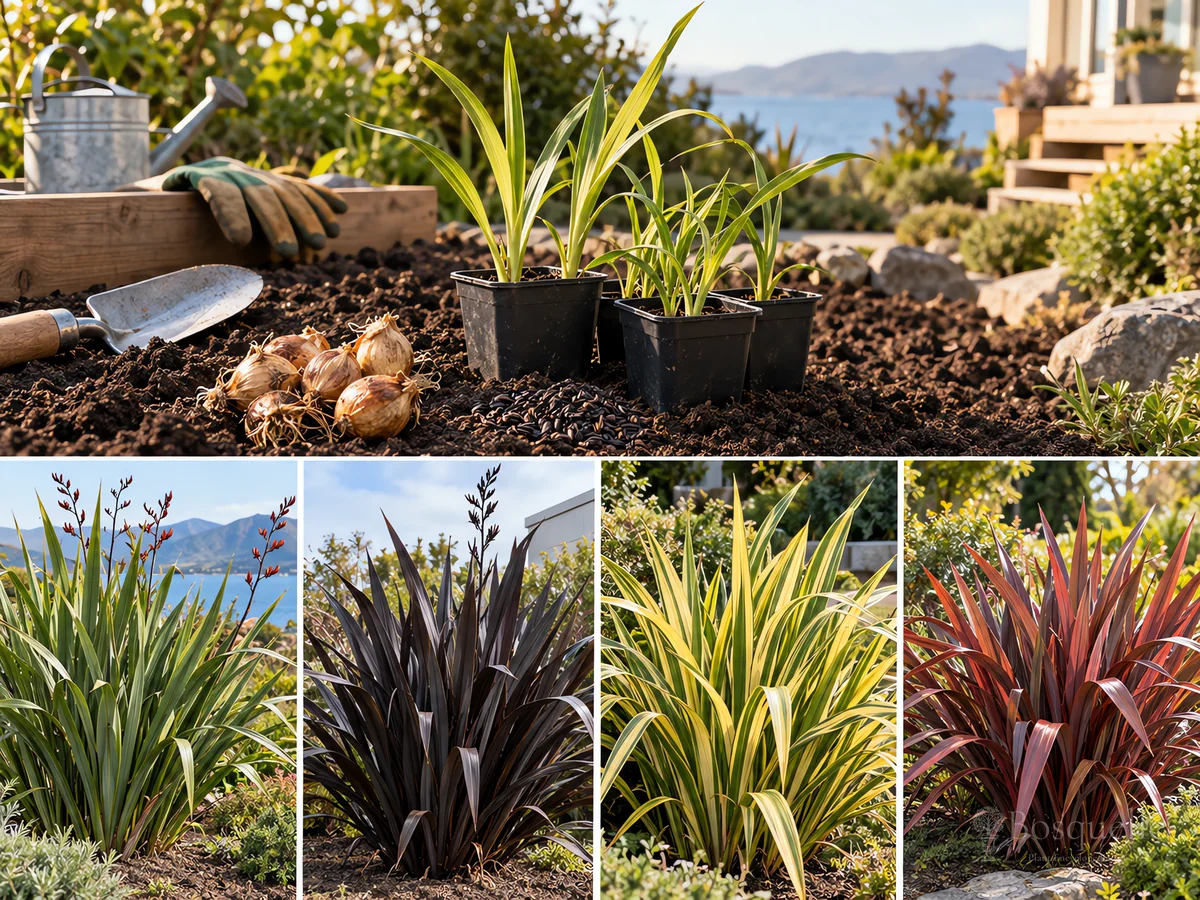
Plant New Zealand flax in spring, at the same depth as the pot, with the crown at grade.

Plant in spring, at the same depth as the pot — do not bury the crown
| Factor | Recommended | Avoid |
|---|---|---|
| When | Spring, so the clump establishes before cold, wet weather | Do not make a late wet set into a bed that stays soggy |
| Depth | The same depth as the nursery pot; crown at soil level | Do not bury the crown to protect it from frost |
| Hole | Wider than the roots, on ground that drains | Do not dig a tight, deep hole in heavy clay |
| Room | Leave space for the mature fan so leaves do not smother neighbors | Do not pack a tight row with no room to arch |
Wait until spring. Set the rootball so the crown sits at soil level, the same as it sat in the pot. Do not sink it deeper. [1] New Zealand flax and Amazing Red take that same crown-high set.
How deep do I plant it?
Set it at the same depth as the nursery pot, with the crown at soil level. Do not bury the crown. A deep set in wet soil is the main reason the clump rots.
How to plant New Zealand flax
Plant one clump at a time in spring, with the crown at grade, then water to settle.
- Confirm a tall upright kind, a compact red or bronze mound, or an arching yellow kind on the tag. If the tag is only a shop name, match it on Types of New Zealand Flax.
- Wait until spring. A mild-coast fall planting can work, but a late wet set is more likely to rot.
- Dig a hole wider than the roots. Unwind circling roots. Mix grit into heavy soil so water can leave. [2]
- Set the rootball so the crown sits at ground level. Backfill and firm with your heel. Water to settle. [3]
- Leave room for the mature fan. After planting, sun and first-year water are on How to Grow New Zealand Flax.
When should I plant New Zealand flax?
In spring, so the clump can establish before cold, wet weather. Do not plant into a soggy hole.
Split a clump in spring, with a fan of leaves and roots
Dividing a clump uses the same planting steps. Each piece needs a fan of leaves and some root or it will not re-establish.
- Divide in spring. Do not split a clump in late summer or into a wet winter hole.
- Lift the clump, or slice outer fans if it is too large to move whole. Each piece needs leaves and roots. Discard soft, rotting pieces.
- Replant each piece at the same depth, crown at grade, and water to settle. Stake a top-heavy division for the first year if it rocks in wind.
Can I divide it?
Yes, in spring. Give each piece a fan of leaves and some root. Replant at the same depth, with the crown at grade.
What fails at planting
Burying the crown in cold, wet soil is the main reason new clumps rot. Always keep the crown at soil level. [4] A tight hole in heavy clay holds water against the fans. A late set into a soggy bed fails the same way.
If you buried the crown in wet soil, lift it now and reset it at grade — do not wait for a soft fan.
FAQ
Can I start New Zealand flax from seed?
Not as a garden shortcut. Seed can take a year to germinate and will not match the parent. Buy a nursery plant, or divide a mature clump.
Can I plant in fall?
Spring is safer. A mild-coast early-fall planting can work if the soil drains. A late wet set is more likely to rot before the roots take.
Related guides
Recommended plants



References
- [1] Royal Horticultural Society -
https://www.rhs.org.uk/plants/phormium/growing-guide - [2] Gardener's Path -
https://gardenerspath.com/plants/foliage/grow-new-zealand-flax/ - [3] BBC Gardeners World -
https://www.gardenersworld.com/how-to/grow-plants/how-to-grow-phormium/ - [4] UC Master Gardener Program of Sonoma County -
https://ucanr.edu/site/mg-sonoma/phormium-new-zealand-flax
This note is part of Phormium Guides.
More planting notes by plant are gathered in Planting Guides.
Updated: Reviewed by Bosquelle Editors