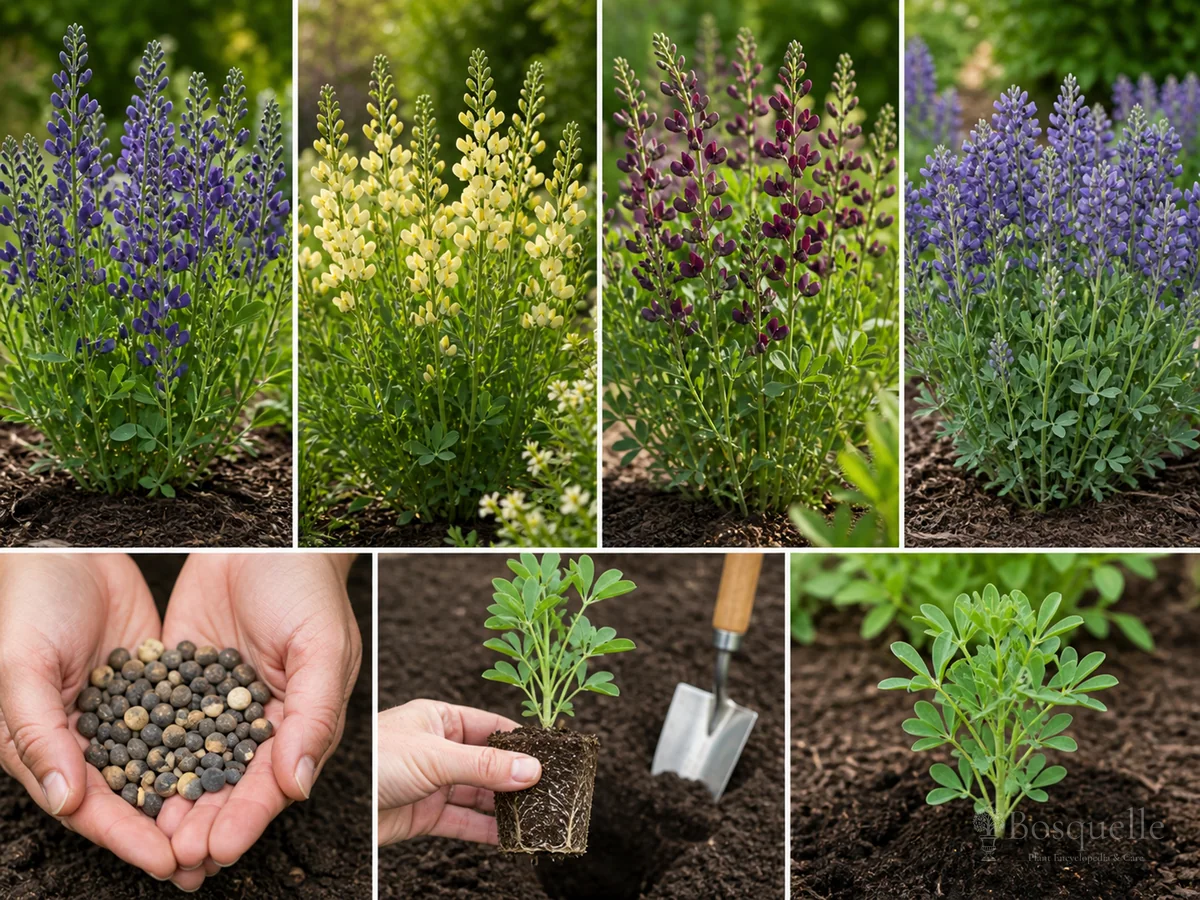
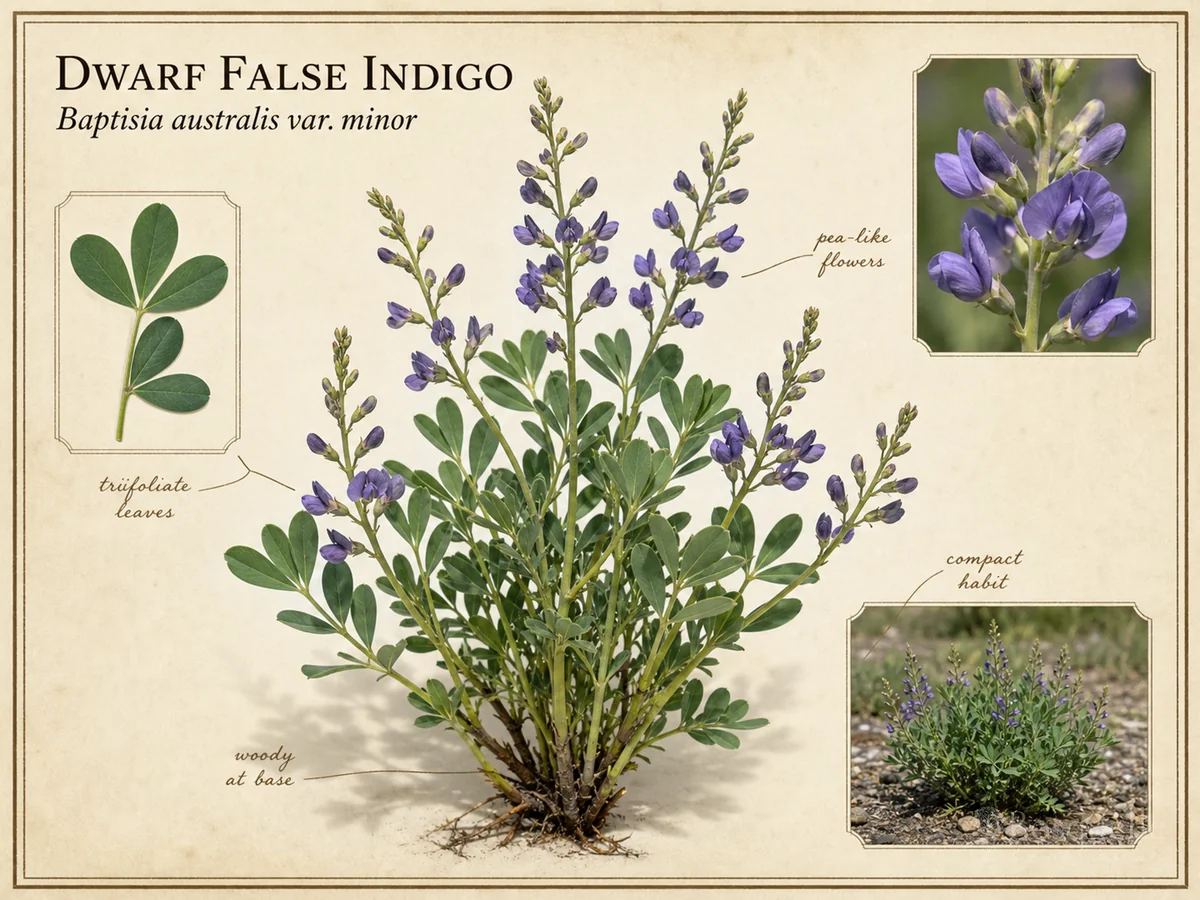
Plant false indigo once. The hole you dig is meant to be the last hole. Full sun, drain, same depth as the pot, 3–4 feet of space. blue false indigo and compact dwarf false indigo share that placement. Everyday care stays on How to Grow False Indigo.

When and where to plant
| Factor | Recommended | Avoid |
|---|---|---|
| When | Spring after frost; fall where winters are milder | Frozen or waterlogged ground |
| Sun | Full sun most of the day | A shady slot that thins spikes |
| Drain | No winter ponding at the crown | A low clay dish |
| Permanence | A bed you will keep for years | A temp filler you will lift next season |
Almanac: in cold climates wait until after the last spring frost. In warmer areas spring or fall both work so roots settle before extreme heat or cold. Garden.org: container plants can go in whenever the soil is workable — still pick the final site first. Iowa State University Extension: once established, leave it. That starts at plant-out.
If sun, drain, or permanence fails, stop. Buying the plant first and hunting a hole second is how taproots end up in the wrong bed. Sort mature size on Types of False Indigo before you commit a 4-foot circle. Partners wait until the circle is drawn, on False Indigo Companion Plants.
Set the still-potted plant where you think it will live. Walk the path. Sit where you view the border. Check mature width against windows and future shrubs. Only then dig. A short dry-fit prevents years of quiet regret. Compact dwarf types still deserve this check; small tops do not cancel a wrong slot.
Hole, depth, and spacing
Almanac: a hole slightly larger than the root ball. Garden.org: loosen 12–15 inches if you are making a new bed, mix in a little compost if you want, then a hole twice the pot diameter. Set the top of the root ball level with the soil. Do not bury the crown. Do not perch the plant on a hardpan shelf — loosen beneath so the taproot can go down.
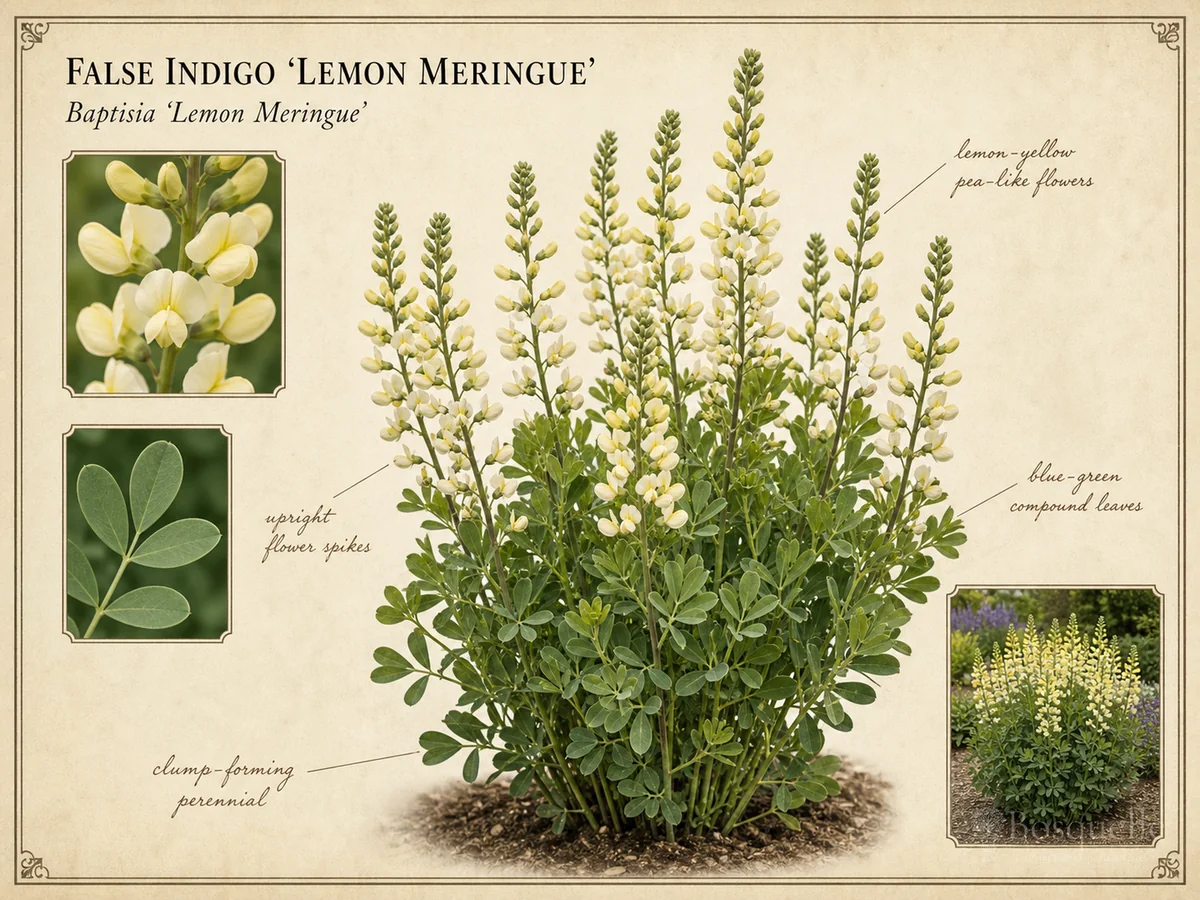
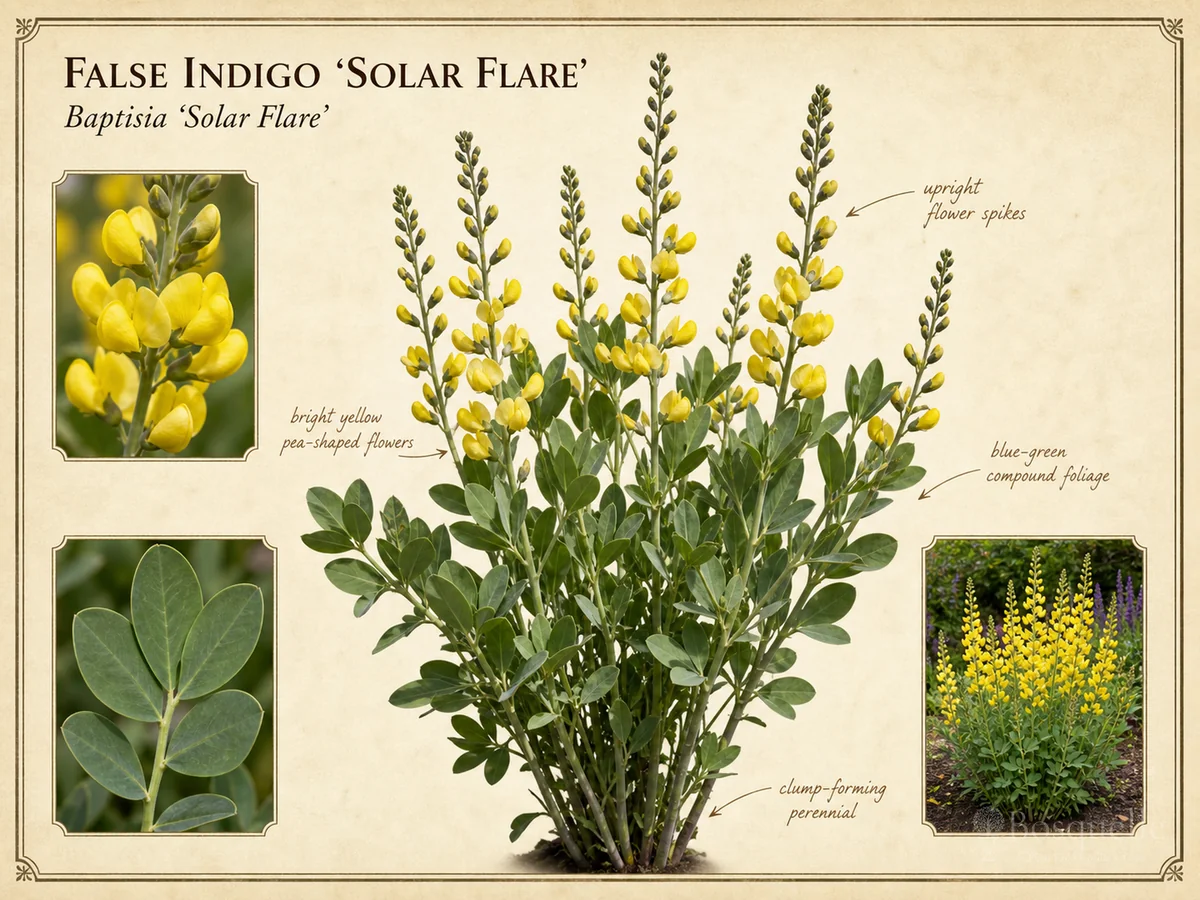
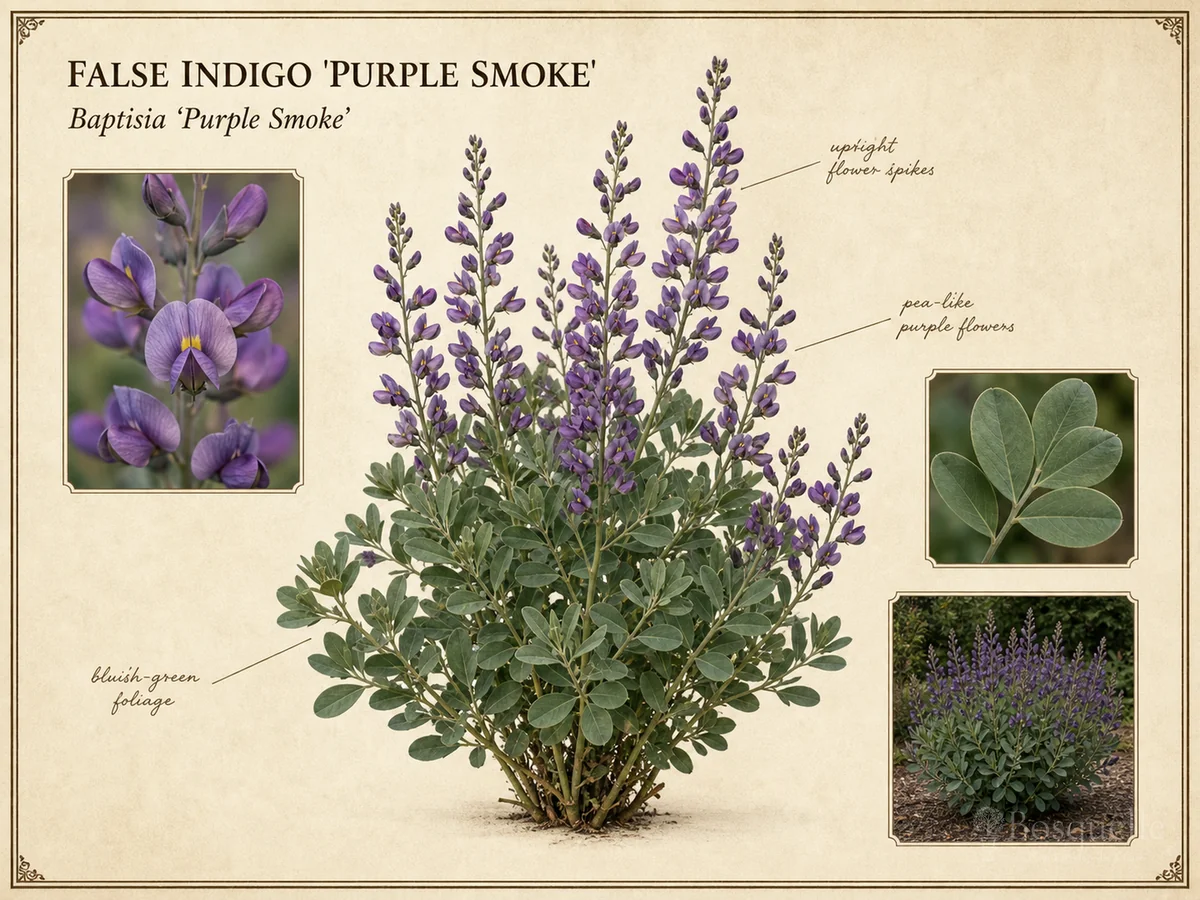
Space large plants 3–4 feet apart (Almanac / Plant Native). Smaller or dwarf types 18–30 inches. Compact dwarf false indigo still needs a permanent circle free of future digs. Do not sandwich Baptisia between plants you lift every year. Two colors are fine if both circles fit.
Tease only circling surface roots. Do not rip the taproot to “encourage branching.” Backfill with the native soil. Skip a fertilizer pit that holds water and softens stems later. Water once to settle air pockets. Mulch 1–3 inches, off the stem (Almanac).
If the nursery mix is a dense peat plug, loosen the outer sides so water can move into the garden soil. Do not wash the whole ball under a hard tap. Do not add a moisture-control mix that stays wet for days. Garden clay as the only backfill around a peat plug makes a bathtub — mix some native grit or compost so the interface drains.
How to plant
- Set the pot in place and check mature width against paths, fences, and future shrubs. Move the flag, not a rooted plant later.
- Dig the hole. Check that the crown will sit at the old soil line.
- Slide the plant out. Tease circling roots. Do not split the taproot.
- Set it in. Backfill halfway, water once, finish fill. Firm gently — contact without stomping the crown.
- Mulch a ring. Leave a clean collar. Water again until it settles. Empty any saucer if you planted from a patio pot.
Skip the fertilizer tablet. Skip an oversized peat mound that perches water. Native backfill and sun do more than a boutique hole mix. Mark the crown so spring you does not plant through it.
Work when the mix in the pot is just moist so the ball holds. Gloves help if the stems are already woody. Keep the cultivar name with the plant if you add a second color later. Leave a watering dish for the first week only if you remember to empty it; standing water at a new crown is still rot.
After planting
- Keep moisture steady the first season in dry weather (Iowa State University Extension). Not a daily puddle.
- Noon wilt in heat can be temporary. Dusk wilt with dry soil needs water.
- Do not fertilize at plant-out. Do not dig to inspect the taproot.
- Hold partners off the circle until the Baptisia is in and marked.
Treat relocation as off-limits after backfill. If the view is wrong, change neighbors or plant a second clump elsewhere. Everyday sun, cut-back, and year-two patience live on How to Grow False Indigo. New tips in spring are the sign it took. A small first-year clump is normal, not a failed plant-out.
What fails: a shady hole; a winter puddle; a 12-inch annual spacing; burying the crown; ripping the taproot; a rich wet pit; moving it three feet in July. Success is a plant you do not lift again.
If the first summer is dry, a deep soak every week or two beats daily sprinkles on the leaves. If the first summer is wet, check that water leaves the hole — a sunken crown in clay is the usual rot. New pale shoots in the second spring are growth, not a cue to feed. Hold the shovel. A small first-year clump is still a successful plant-out if the crown is firm and the mix drains.
FAQ
When should I plant false indigo?
Spring after frost in cold climates. Spring or fall where winters are milder and the ground drains.
How far apart should I plant baptisia?
About 3–4 feet for full clumps. Dwarf types 18–30 inches. Leave a permanent circle.
How deep should I plant it?
Same depth as the nursery pot. Do not bury the crown.
Should I add fertilizer in the hole?
No. Native backfill. Extra feed can flop stems later.
Can I plant it in fall?
Yes where roots can settle and winter wet will not drown the crown.
Do I need to divide after planting?
No. Leave the taproot.
The first year looks small. Did I fail?
No. False indigo is slow to bulk. Keep first-year water and wait.
Where is everyday care?
On How to Grow False Indigo.
What if I picked the wrong spot?
Plant a new one in the right hole. Moving the first is a last resort in early spring.
Related guides

Recommended plants

This note is part of Baptisia Guides.
More planting notes by plant are gathered in Planting Guides.
Updated: Reviewed by Bosquelle Editors