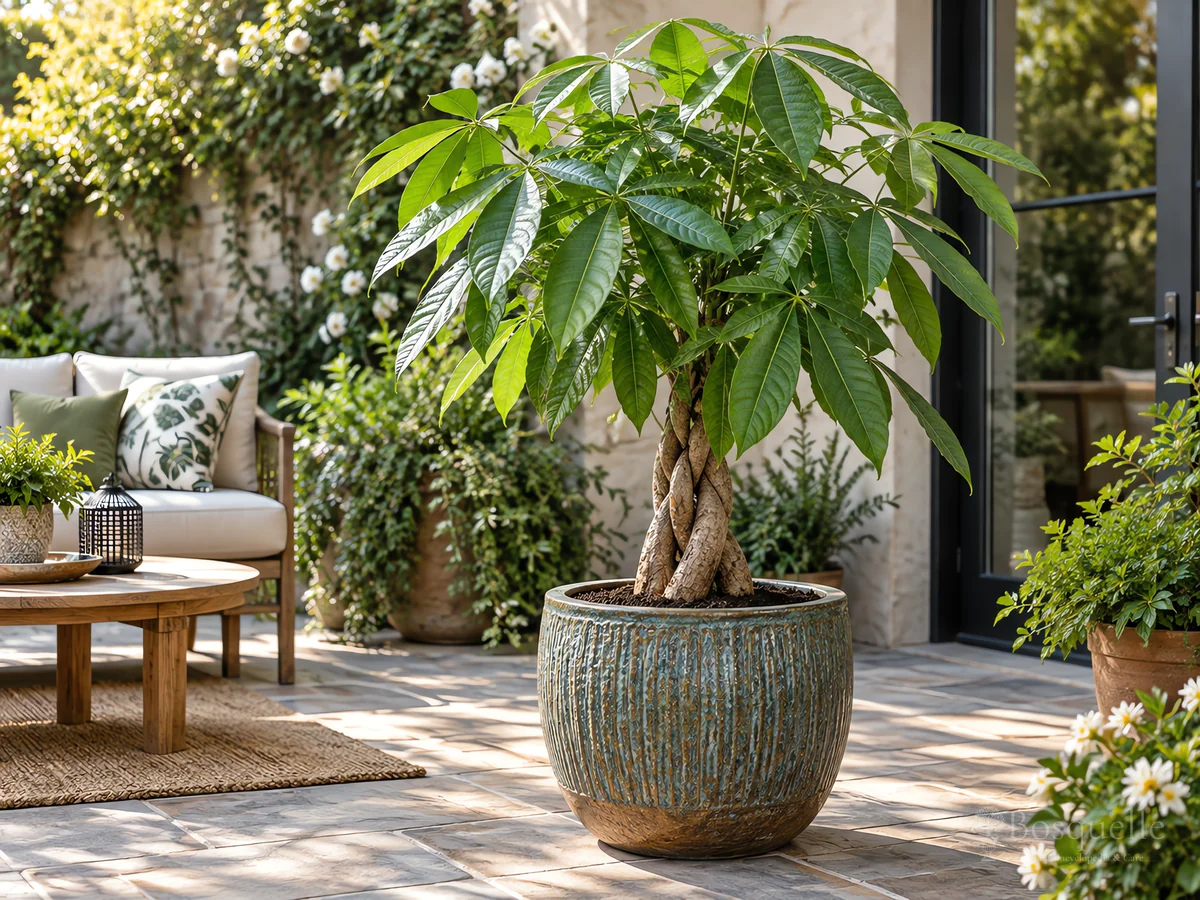
Repot money tree in spring, into a pot only one or two inches wider, with a drain hole. Set it at the old soil line, and do not bury the braid.

Move it up one pot size, in a pot with a hole
| Factor | Recommended | Avoid |
|---|---|---|
| When | Spring, or when roots pack the pot and water will not soak in | Do not repot a brand-new plant the day it comes home |
| Pot | One or two inches wider, with a drain hole | Do not jump to a much larger pot, or pot into a cachepot with no hole |
| Mix | Fresh houseplant mix that holds moisture and still drains | Do not reuse packed peat or garden soil |
| Depth | The same soil line as before | Do not bury the braid to make the plant sit still |
Money tree needs a snug pot with a hole, not a tub of wet mix. Choose a container about one or two inches wider than the old one, and keep the braid at the depth it already sat. [1] Most plants wait two or three years. If the plant is healthy and the old pot still drains, let it settle before you move it. [2]
- Pick a pot with a hole, only one size up. A decorative pot with no hole is a sleeve: keep the grower pot inside it, and empty the sleeve after you water. [3]
- Use fresh houseplant mix that drains. Peat, perlite, and a little loam or sand is the usual blend. [4]
- Do this in spring when you can. A plant that is packed, tipping, or sitting in sour mix can move sooner.
How big should the new pot be?
About one or two inches wider, with a drain hole. A much larger pot stays wet around the roots.
How often do I repot?
Every two or three years for most plants, or sooner if roots fill the pot and water runs straight through.
Ease it out without pulling the braid, and keep the old soil line
Support the root ball from below. Do not yank the braid. Slide the plant out, check the bases of the trunks, and set it back at the old soil line.
- Water the day before so the root ball slides. Tip the pot and ease the plant out. If it sticks, run a knife around the inside of the pot.
- Look at the roots and at the flare where the trunks meet the mix. Trim only roots that are black and soft. Tease circling roots at the bottom. Leave healthy roots in place; a hard tease drops leaves.
- Cut off a rubber band, tape, or tie that is cutting into the bark. Loose tape on a young braid can wait until the trunks have thickened.
- Set the plant in the new pot at the old depth. Fill around the roots, tap the pot to settle, and do not pack the mix hard.
- Water until extra runs out, then empty the saucer. Skip fertilizer for a few weeks. If leaves drop, leave the pot in its old bright spot and wait for new growth.
Once it settles, keep it as a houseplant on How to Grow Money Tree.
Will it drop leaves after I repot?
It often does if the roots were disturbed. Leave it in the same bright spot, keep the saucer empty, and wait for the next flush.
Do I remove tape from the braid?
Remove it if it is cutting into the bark. Loose tape on a young plant can stay until the trunks thicken.
Move the next plant into a pot with a hole, only one size up, at the old soil line, and empty the saucer after the first watering.
FAQ
Can I pot it straight into a pot with no hole?
No. Keep it in a grower pot with a hole, and set that pot inside the cachepot. Empty the cachepot after every watering.
Should I split the braid into separate plants?
Only if one trunk is rotting. A healthy braid is several plants sharing one pot on purpose. Splitting it is a salvage job, not a routine repot.
Related guides

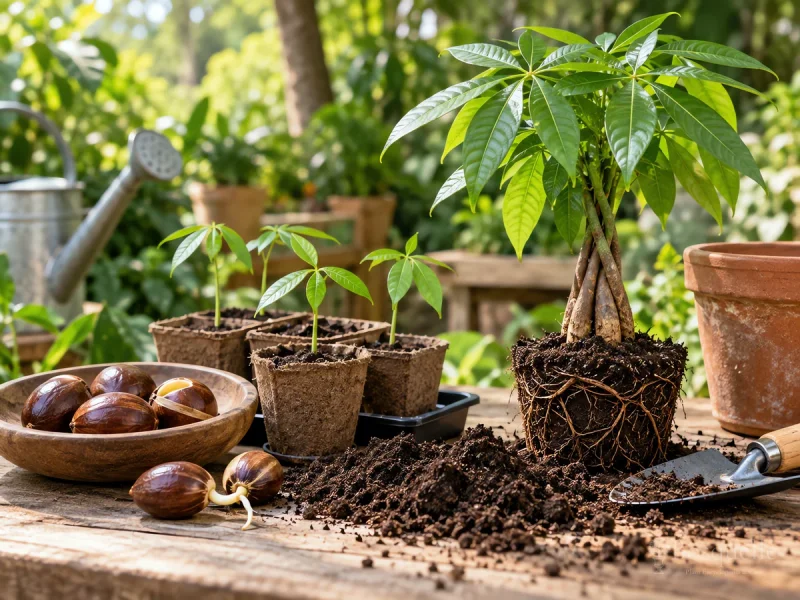
Recommended plants

References
This note is part of Pachira Guides.
More container notes by plant live in Container Growing Guides.
Updated: Reviewed by Bosquelle Editors